
How to Turn Yourself into a GIF

Wondering how people turn themselves into GIFS on instagram?
Follow this step-by-step to create your own brand GIFs.
01
Write a shotlist of emotions and expressions.
Trust me, you’ll want to do this first. I realized I had missed so many useful expressions after I filmed and it was a pain to go back. Here are some really useful ones to get you started:
O-M-G (excited/shocked)
Thank you
Yes (cheering/happy)
No
Thumbs up/down
Clapping
Approval (OK with hands)
Hi (waving)
Raising hand
High-fiving
Kiss
Heart with hands
I don’t know
What? (confused/disbelief)
Thinking
Shaking head (disapproval)
02
Film yourself against a blank wall.
Position yourself so that you’re only filming about waist up. Using a completely blank wall will be important so that we can take out the background in the next step. I noticed that adding a studio light really helped improve the quality of my GIF as well as recording with an HD video camera (versus phone) and wearing a contrasting shirt (against the white wall instead of white shirt on white wall).

03
Trim your file into individual clips for each GIF.
I used Premiere Pro to trim my one long video file into clips for each emotion/expression and exported each as an MP4.


04
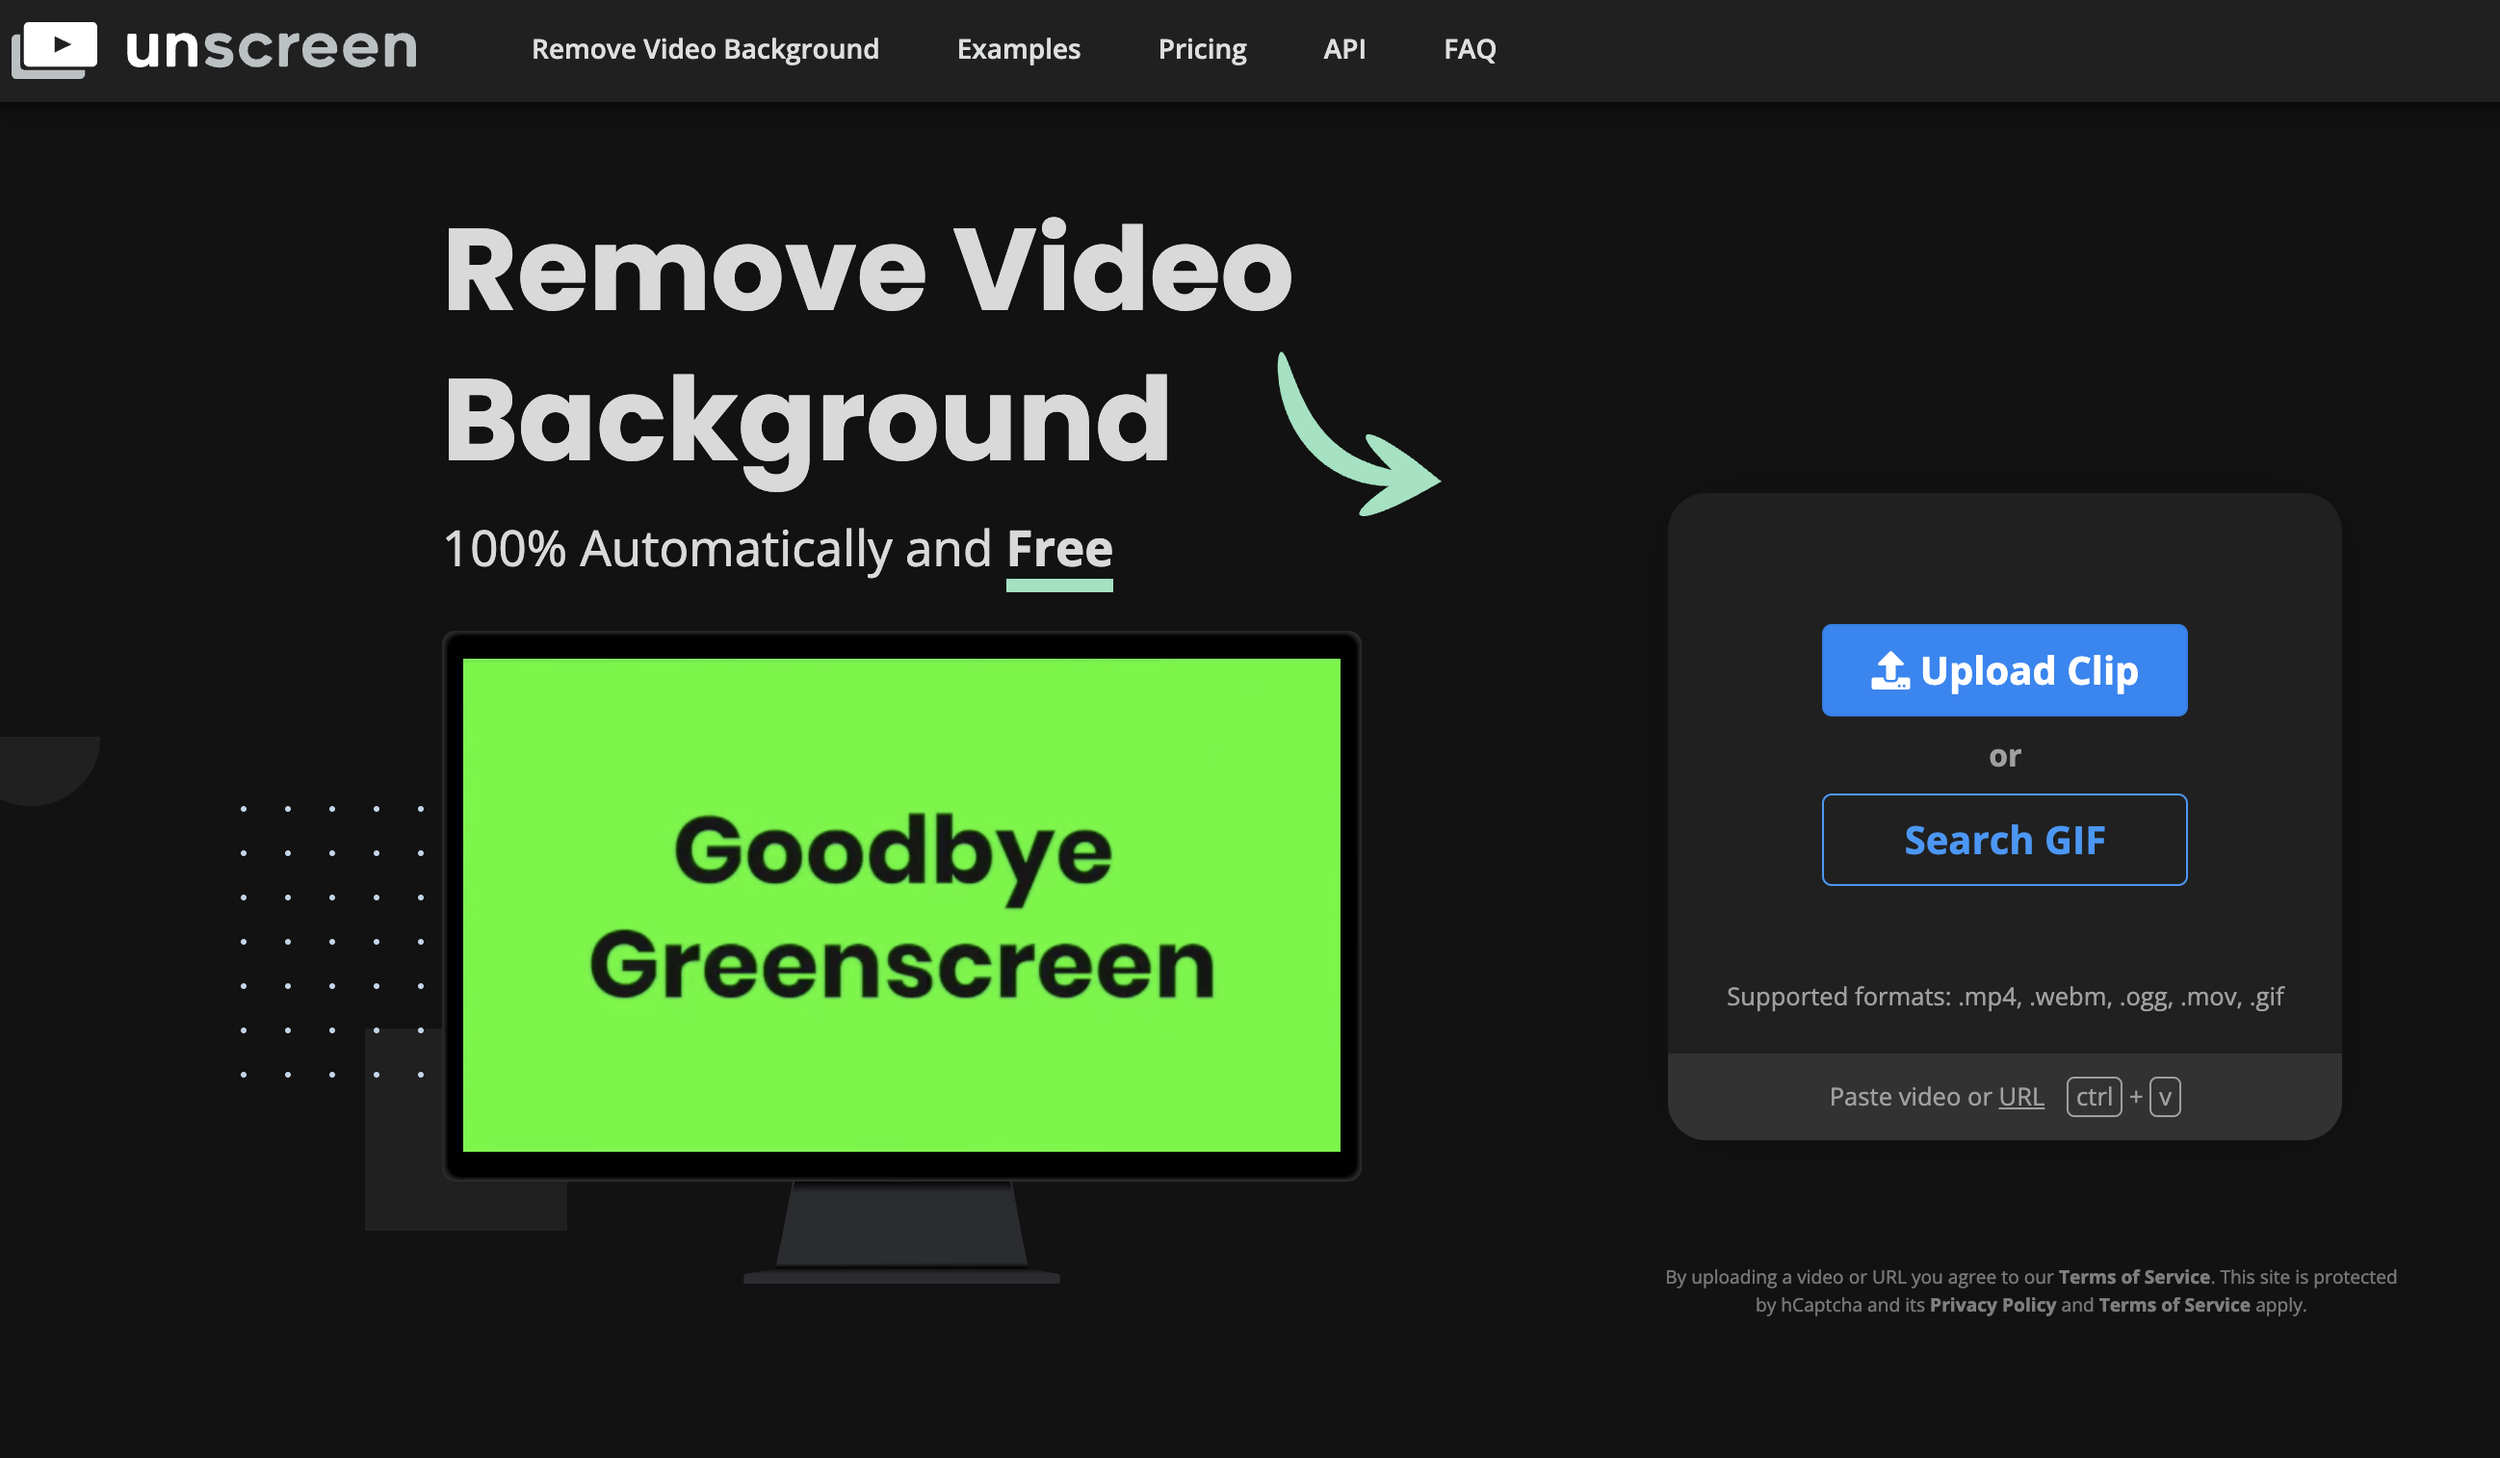
Use unscreen.com to remove background.
I found it easiest to use Unscreen.com to remove the background by simply uploading an MP4 file of the trimmed video file that I want to be my GIF. I also avoided positioning myself in the lower right corner where the watermark would’ve appeared. This way I can get by with the free account. But you can upgrade to a paid account to ensure no watermark appears.
You can download the file as a GIF with transparent background.
05
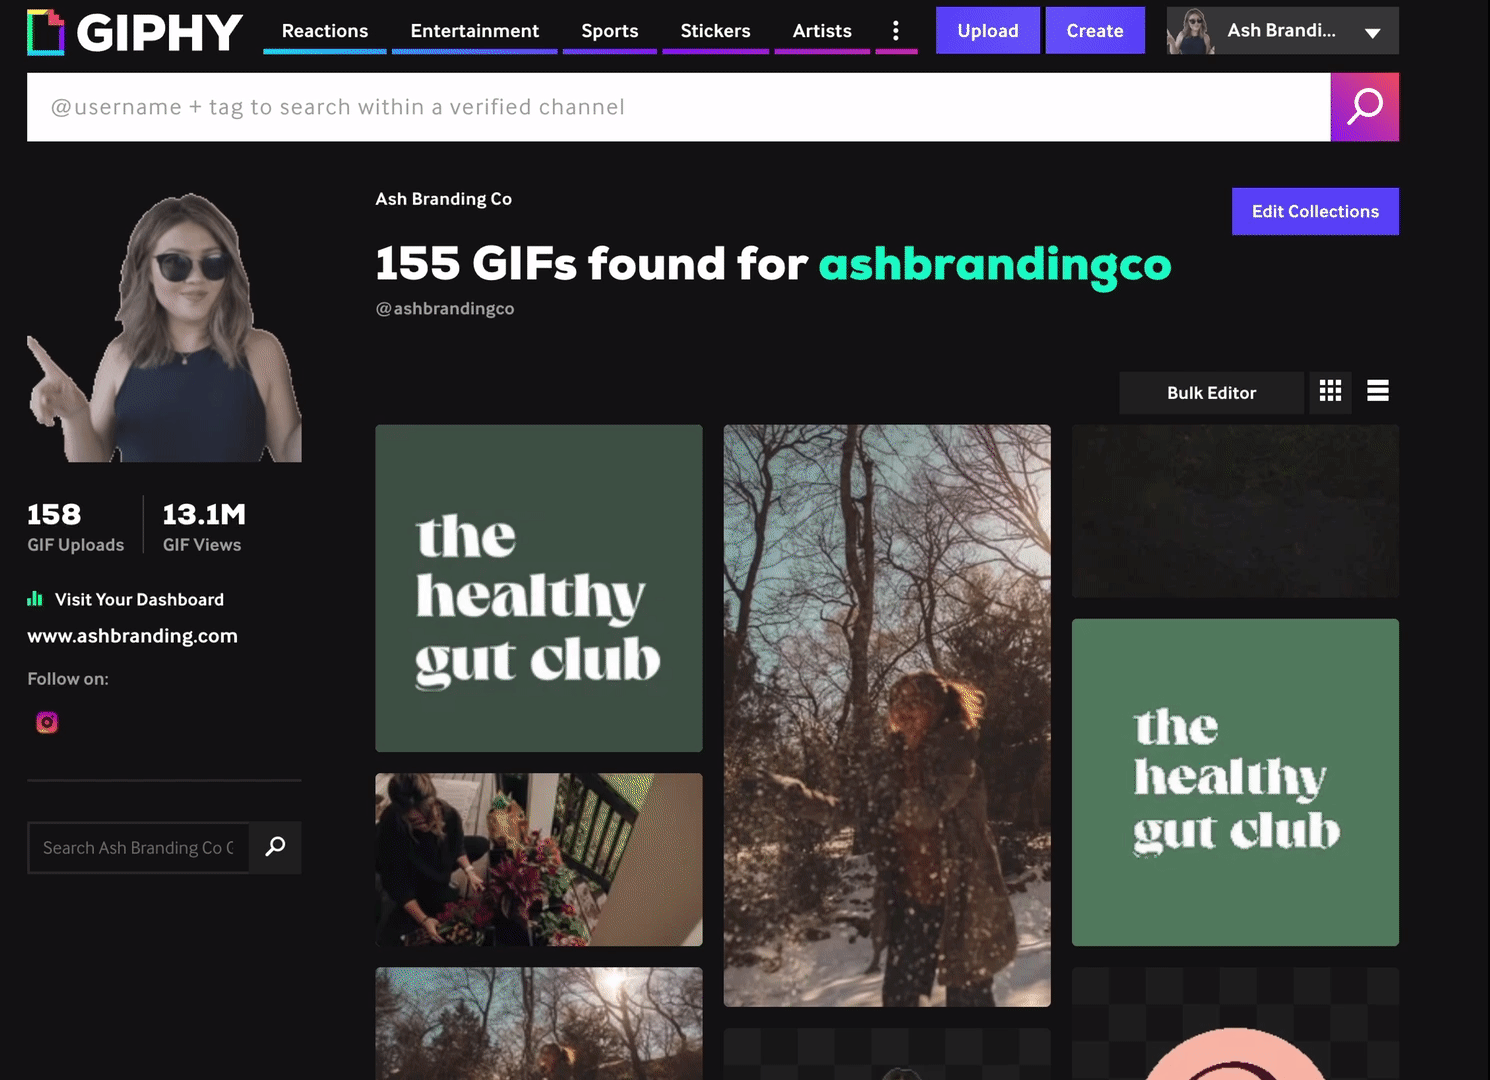
Create Giphy account and upload.
You will need to create a free Giphy account and upload at least 5 GIFs. Once you have 5-10 (or more) you will want to apply for an artist (or brand) channel. This will take a while to get approval, but once you do you will be able to see your GIFs on instagram stories by searching the keywords you used in each GIFs tags.
This took at least a few days and once approved, each time you upload new GIFs they take anywhere from 12-24 hours to show up on instagram.
A note on uploading your GIFs:
You can upload an MP4 (and GIPHY will create a GIF) or a ready GIF.
You will want to tag your GIF with specific keywords (i.e. “ashbrandingco”) so that you can find your GIF in the search bar in instagram stories. If you type in “ashbranding” on instagram GIFs you will see all of mine pop up, to see how this works.
Tip:
How to create graphic GIFs (non-video)
If you would like to create graphic GIFs of your logo or branded elements you can do that in quite a few ways:
With a designer or using photoshop to create a true animated GIF for web
Using a (slightly sketchy) website like 3Dgifmaker (linked below)
Using Canva to create an animated graphic exported as an MP4 or GIF